If you’re looking for something fun to do while your kids are home for Thanksgiving Break, here are some simple crafts you can do with items you have around the house!
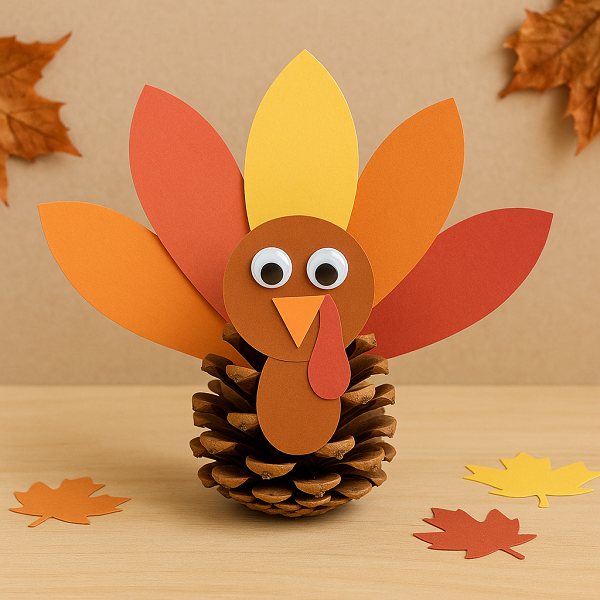
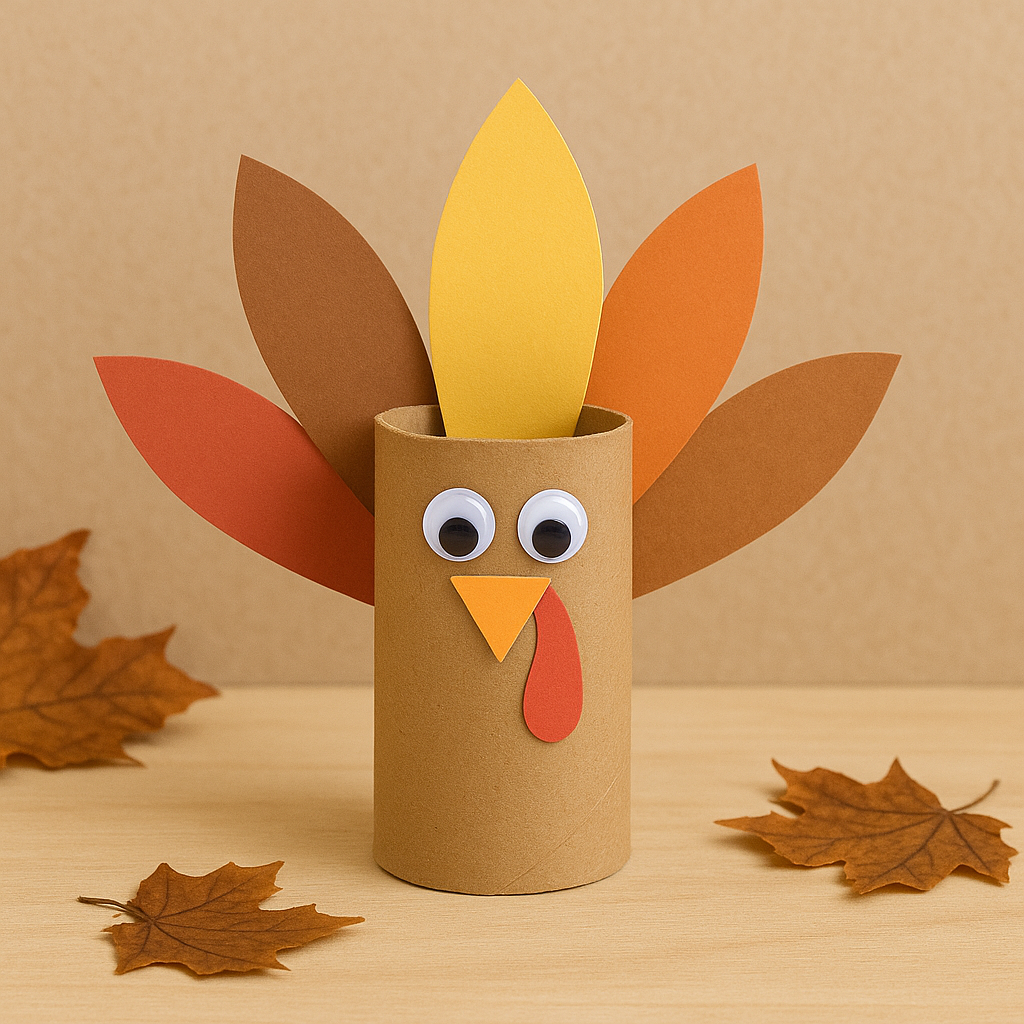
Paper Roll or Pinecone Turkeys
Supplies
Construction paper (in multiple colors, including red and yellow)
Toilet paper roll or Pinecone
Googly eyes
Glue or Mod Podge
Pen or Pencil
Scissors
Instructions
Have your child choose three colors of construction paper. Trace your child’s hand on each page with a pen or pencil, and cut the hand out. If your child is comfortable using scissors, they can help with this step. If not, you can cut it out for them and stay close by in case they need help with any other steps.
Cut out a small triangle and a little red squiggly shape for the beak and wattle. Glue the beak and wattle on the toilet paper roll or pinecone with Mod Podge or Elmer’s glue. Hold for a few seconds until the pieces stick. Next, attach the eyes and hold until secure.
Overlap the hand cutouts and glue in place. Let dry for a couple of minutes, then attach to the back of the turkey. You could also let your kids color or draw on the handprints before gluing, or if they are older, they could even write what they are grateful for on each hand!
Once dry, you can put these little guys on display, use as place cards on your Thanksgiving table, or it would also be really fun to add a piece of paper to the bottom of the paper roll, then fill with candy to give to friends, neighbors, or family.
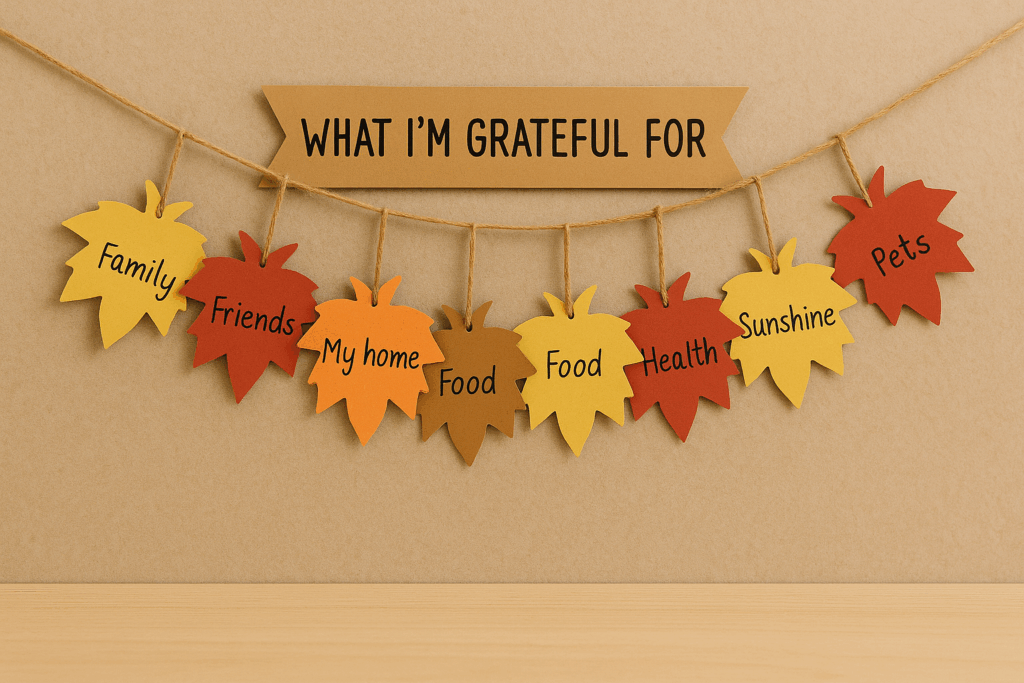
“What I’m Grateful For” Leaf Garland
Supplies
Colored cardstock
Scissors
Hole punch
Leaf template (or draw & cut your own!)
String or ribbon
Instructions
Print out your leaf template. You can either cut out each leaf to trace onto paper, or you can hold your template behind your paper and put it up to a window during the day to trace them onto your paper (this works best for lighter colored paper). Cut out as many leaves in whatever colors you like!
Use your hole punch to punch a hole near what will be the top hanging part of your leaves. Repeat for each one.
Use a pen, marker, crayons or colored pencils to write down all the things you are grateful for on each leaf! You can ask little kiddos for theirs and write them down for them or have older kids write their own.
Hang your leaves along your string or ribbon. You can tie a knot in each one to keep them from sliding. Then, stand back and see all you have to be thankful for!
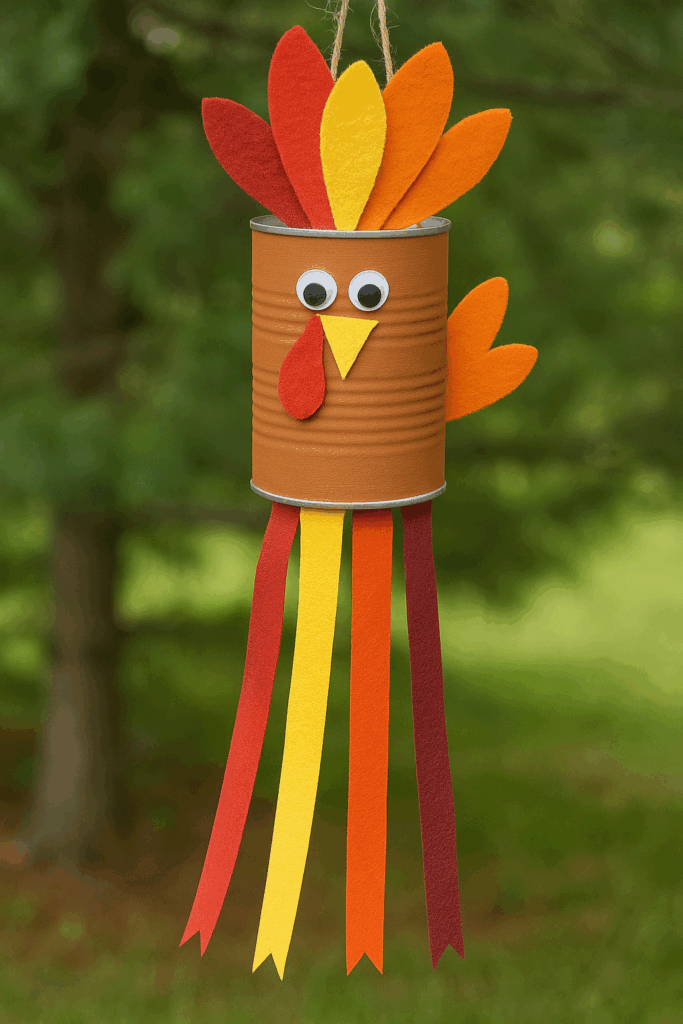
Turkey Windsock
Supplies
Food can (cleaned and dried, with top and bottom removed)
Brown and Orange paint
Glue
Large Googly Eyes
Ribbons or Streamers in Fall colors
Feathers, Felt, and/or Construction paper in Fall colors (can mix and match)
Tape
String
Instructions
Start by painting the can brown and allowing it to dry completely before using the orange paint to draw on the turkey’s beak.
Attach the googly eyes to the can using your preferred glue.
Run a thick line of glue inside the rim at the back side of the can, and attach the turkey’s tail “feathers” (made from actual feathers, construction paper, felt, etc.).
Cut 10 pieces of ribbon, string or paper to the same length. Make them as long or as short as you’d like! Run another thick line of glue around the entire inside rim at the bottom of the can, and use the glue to attach the streamers. Allow to dry completely.
Use the glue to attach a red wattle (made of felt or paper) and a ribbon for hanging. Allow to dry completely before hanging. Find a nice place to hang, and enjoy your adorable turkey windsock!
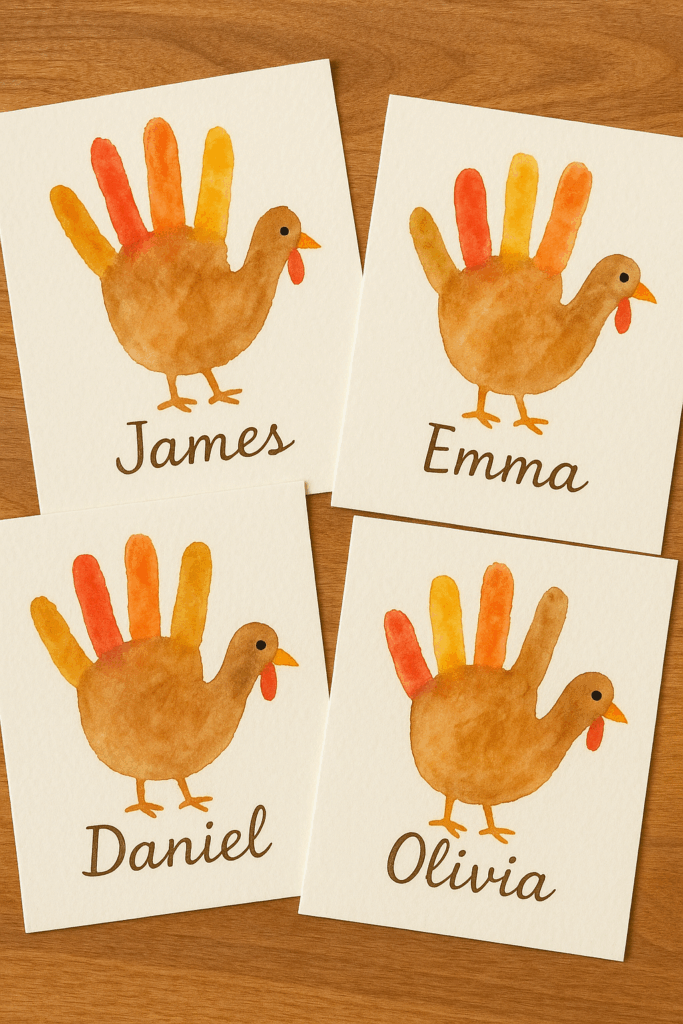
Handprint Turkey Place Settings
Supplies
Construction paper or Cardstock
Paintbrushes
Brown, Orange, Yellow and Red paint (or whatever colors you want!)
Markers
Googly eyes (optional)
Instructions
Place something like builders paper or paper bags on the table to protect it from the paint.
Trace handprints or paint hands then place on the paper.
Color in your turkeys in as needed. Don’t forget to add legs, a beak, wattle and eye!
Write the name of each friend or family member at the bottom of the paper with marker, then set on your Thanksgiving table!